
Supplies:
Neutral Colored Cardstock (Whisper White)
Colored Cardstock (Barely Banana, Soft Sky, Groovy Guava, Wild Wasabi, Purely Pomegranate)
Assorted Stamps and Ink (Bundle of Joy) (Close to Cocoa, Creamy Caramel, Purely Pomegranate, So Saffron, Mellow Moss, Pretty in Pink, Pale Plum)
Paper Trimmer with a scoring blade
Eyelets and tools
Punch (Horizontal Slot)
Ribbon (Red Gingham)
Scissors
Adhesive (Sticky Strip Tape, Snail)
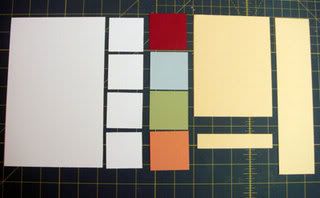
Neutral Cardstock: (1) 5-1/4" x 8", (4) 1-7/8" x 1-7/8"
Colored Cardstock: (4) 2" x 2", (1) 5-1/2" x 4-1/4", (1) 9" x 2", (1) 3/4" x 4"
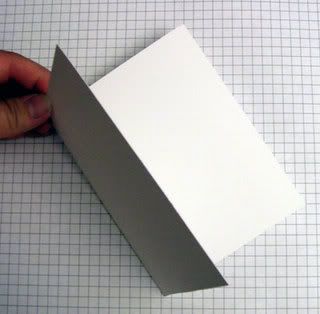
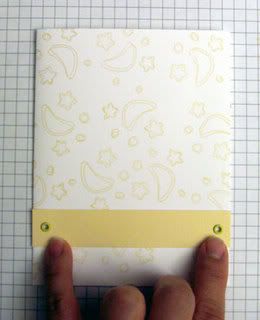
Fold the 5 1/4" x 8" Neutral Cardstock in half:
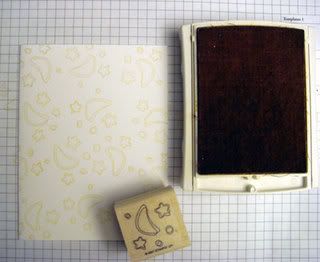
Stamp as desired:
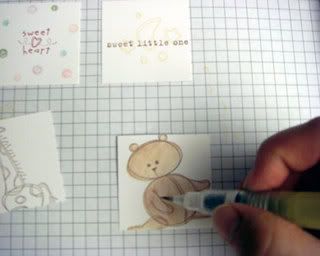
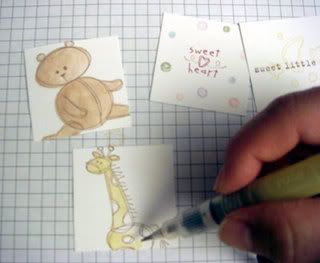
Stamp on the four 1-7/8" x 1-7/8" Neutral Cardstock squares:
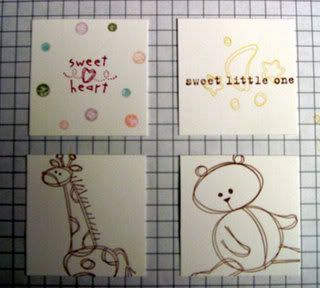
Color as desired:
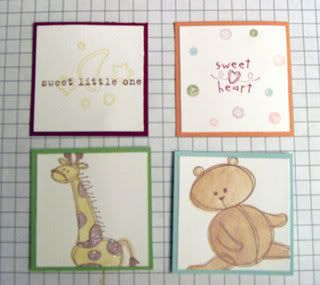
Mount onto the four 2" x 2" Colored Cardstock squares:
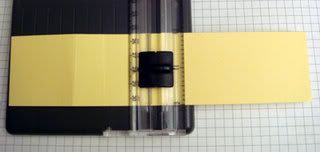
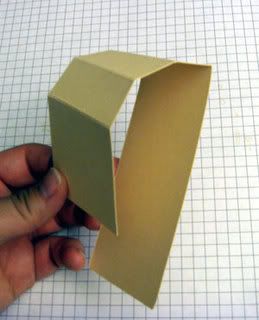
Score the 9" x 2" Colored Cardstock with scoring blade:
Start at the end of the strip and score at 2", 2-3/4", 3-1/2", and 4-1/4"
Fold along the scored lines:
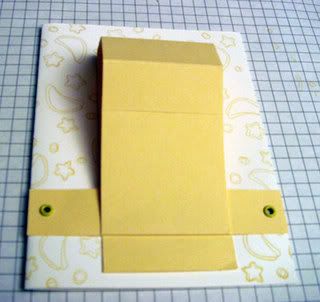
Attach 3/4" x 4" Colored Cardstock strip to the front of the folded cardstock with eyelets:
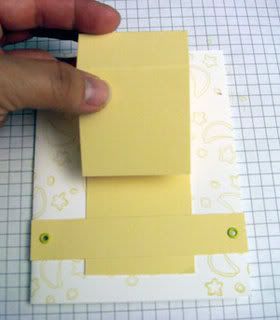
Attach scored strip to the horizontal strip by sliding the long unscored side under the horizontal strip.
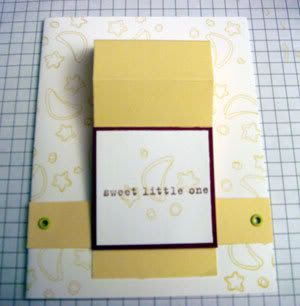
Add a strip or two of Sticky Strip tape along the bottom of the scored square:
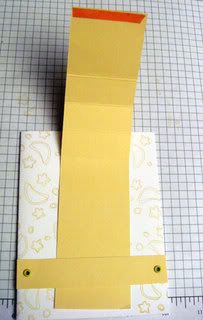
Adhere to the horizontal strip:
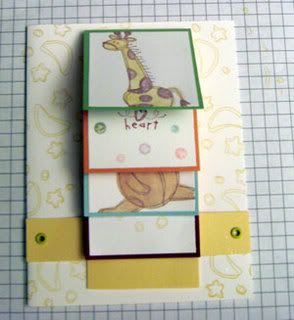
Attach first image (will be the last image of the waterfall card after assembled).
The entire 2" x 2" cardstock should be glued down to the first square of the horizontal strip.
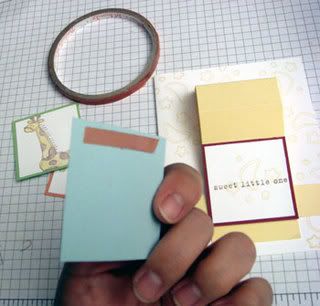
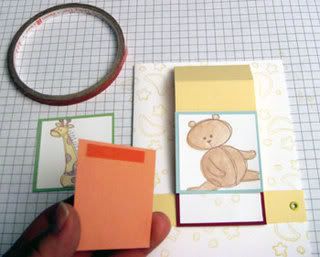
Attach next image by adding a strip of Sticky Strip tape along the top of the 2" x 2" cardstock. Adhere along the scored line and do the same with the other 2 images:
Punch a hole on the bottom strip:
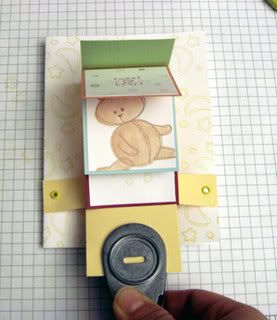
Attach a ribbon and glue down to the 5-1/2" x 4-1/4" Colored Cardstock:
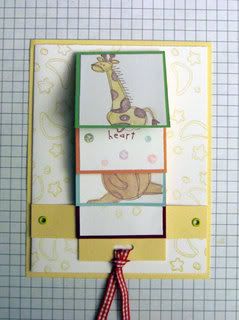
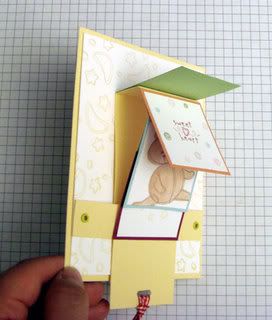
When you pull the ribbon, your images should "flip" like this:
* Update * 3/23/08 Punny Waterfall Card
Post here if you have any questions or comments!
Please remember, all text, photos, and designs are the intellectual and legal property of Jane Izumi Matsumoto ©2007.
Please do not copy and paste!
Jane


8 comments:
Oh my gosh those cards are cute as a button!
Nice job! Great tutorials, fun blog! You've been tagged :)
I've always wanted to make one of these, but haven't been able to understand the instructions... thanks for making it so clear!
Hi, just made this card for my grand daughter's 1st birthday. She is half way across the world & I won't see her on her special day. I'm just so happy with the end result, and so easy!!! Anything that takes less time than it takes to cook dinner has to be a God send! To make it quicker I used stickers instead of stamps. Thanks so much.
Thank you for this tutorial, I can't wait to have a go.
Alex from England x
Thank you so much for the tutorial. I googled other sites for instructions, and they were just way too confusing to me. You had it layed out so perfectly with step by step pictures and easy to follow instructions. What a great card!
lights out instructions for a really fun craft--will use for my group at library this is very clear
I just made one of these for a friend having a baby girl! Used my new Cricut to make some pictures instead of drawing and stamping. LOVE IT!! Came out soooo cute!
Thank you for this idea!
Post a Comment